Creating your very own salt scrub at home is not only a fun DIY project, but it also allows you to pamper yourself with natural ingredients. This DIY body scrub is perfect for exfoliating your skin, leaving it feeling smooth and rejuvenated. Below, you’ll find a straightforward recipe to whip up your own salt scrub and treat yourself to a spa-like experience in the comfort of your home.
DIY Salt Scrub Recipe
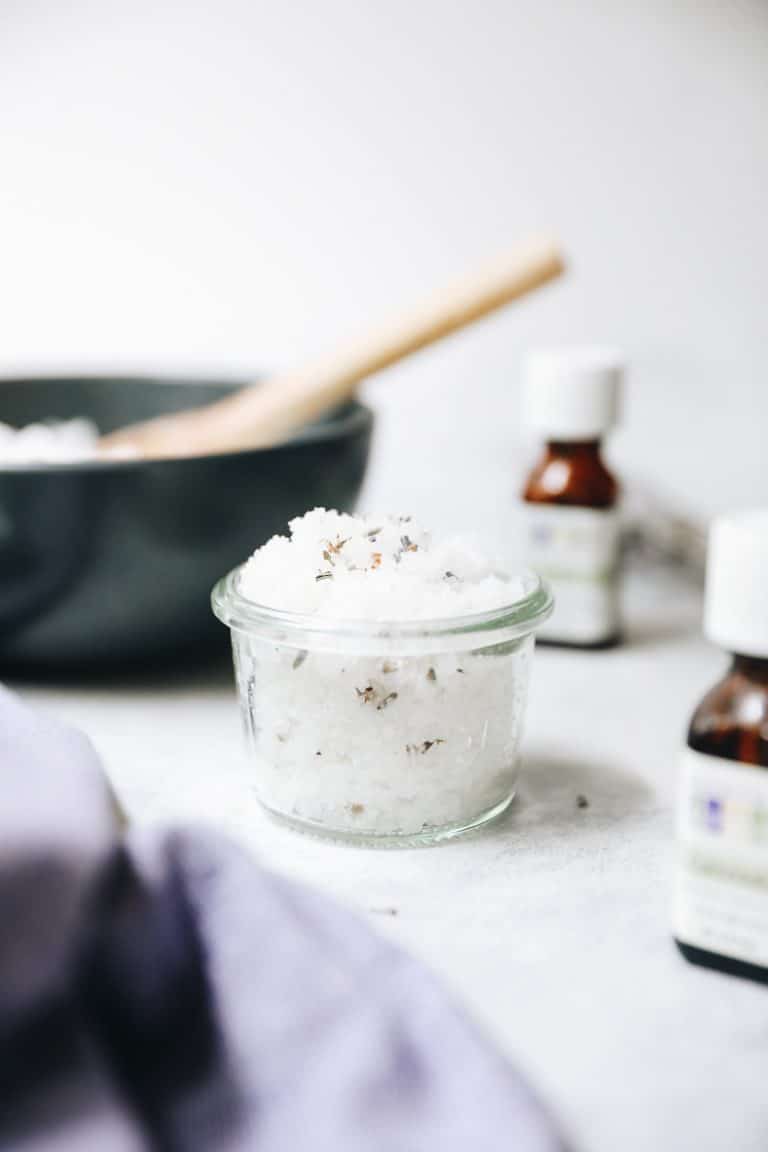
Before we dive into the recipe, let’s take a look at the beautiful imagery of the salt scrub that inspires this DIY project.
 Ingredients
- 1 cup of coarse sea salt (or Himalayan salt)
- 1/2 cup of oil (coconut oil, olive oil, or almond oil work beautifully)
- 1 teaspoon of essential oil (like lavender, lemon, or eucalyptus)
- Optional: a few drops of food coloring for a fun twist!
Instructions
- Mix the Ingredients: In a medium-sized bowl, combine the sea salt and your choice of oil. Mix until well blended. The consistency should be coarse yet moist, similar to wet sand. Adjust the amount of oil as needed to achieve your desired texture.
- Add Essential Oils: Now, it’s time to add your essential oils. Just a teaspoon will do for a subtle scent, but feel free to add more if you want a stronger fragrance. If you’re using food coloring, add it gradually until you reach your desired shade.
- Store the Scrub: Transfer your homemade salt scrub into an airtight jar or container. This will help keep it fresh and ready for your next spa day!
- How to Use: To use your salt scrub, simply take a small amount and massage it onto damp skin in circular motions. Pay special attention to rough areas like elbows and knees. Rinse off with warm water and enjoy your soft, exfoliated skin!
- Storage Tips: This scrub can last for several weeks if stored properly. Keep it in a cool, dry place and avoid introducing water into the container to prolong its shelf life.
Making a salt scrub is an easy and rewarding project that can revitalize your skincare routine. Not only does it help to remove dead skin cells, but it also nourishes the skin with natural oils. Enjoy this delightful DIY experience!
source: www.thehealthymaven.com