If you’re looking to create a delightful homemade treat, look no further than this delicious plum jelly recipe! It’s a simple yet rewarding process that encapsulates the sweet, tangy essence of plums, making it a perfect addition to your breakfast table. Get ready to impress your family and friends with this classic preserve.
How to Make Plum Jelly with Sure Jell - Homemade Plum Jelly
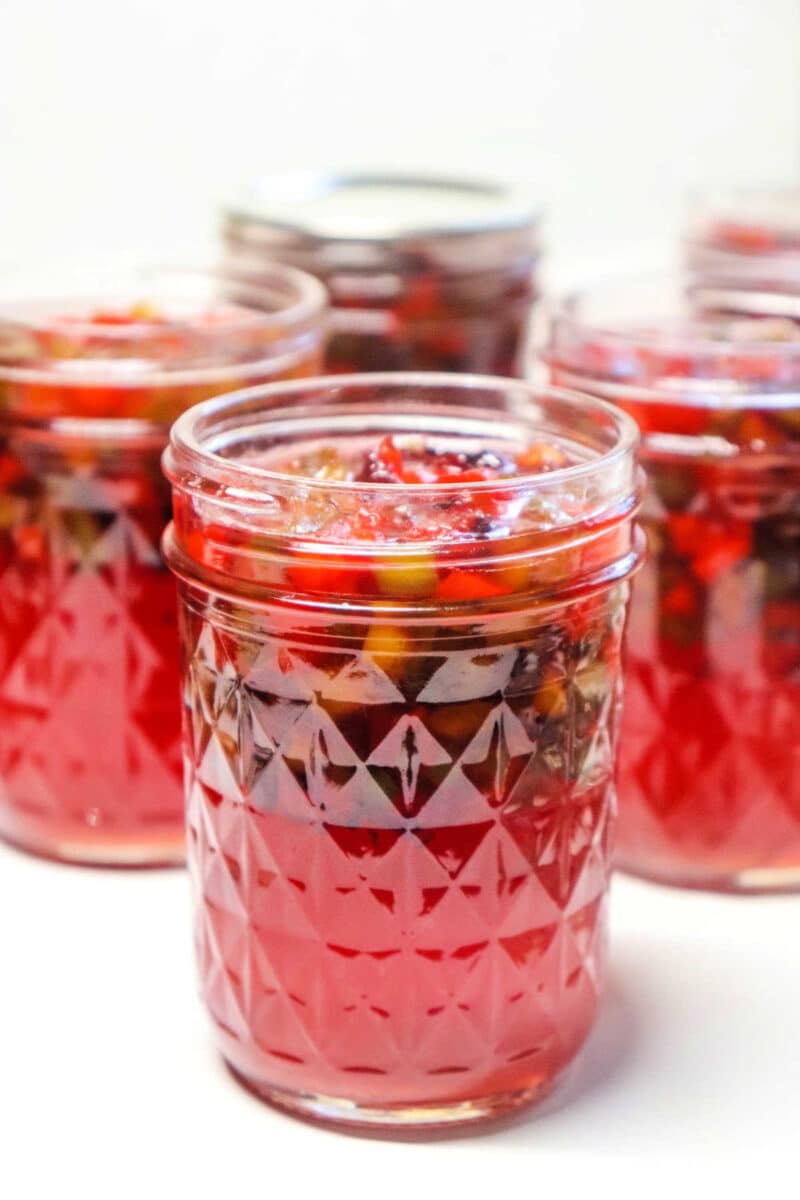
To start off, let’s take a moment to appreciate the vibrant and inviting image of our star ingredient, the plums. This luscious fruit is the foundation of our delicious jelly and brings a wonderful flavor to the table.
 Ingredients
- 2 quarts ripe plums
- 1/4 cup water
- 1 box Sure Jell pectin
- 5 cups granulated sugar
- 1 tablespoon lemon juice (optional)
Instructions
- Start by washing the plums thoroughly and then cutting them in half to remove the pits. You can leave the skins on for added flavor.
- In a large pot, combine the plum halves and water. Crush the plums slightly to help release their juices. Bring the mixture to a boil over medium heat, stirring occasionally.
- Once boiling, reduce the heat and let it simmer for about 10-15 minutes, until the plums are soft and broken down.
- Next, strain the mixture using a fine mesh sieve or cheesecloth to extract the juice. You should have about 4 cups of plum juice. If you’d like, you can add lemon juice at this stage for a touch of brightness.
- In another pot, measure out the juice and stir in the Sure Jell pectin. Bring this mixture to a rolling boil, stirring constantly.
- After reaching a rolling boil, add in the granulated sugar all at once, continuing to stir. Allow the mixture to return to a boil, and let it boil for exactly 1 minute. This step is crucial for that perfect jelly texture!
- Remove the pot from heat and skim off any foam that may have formed on the surface for a clean finish.
- Pour the hot jelly into sterilized jars, leaving about 1/4 inch of headspace. Seal tightly with lids.
- Process the jars in a boiling water bath for about 5-10 minutes to ensure they are sealed properly.
- Once cooled, let your jarred jelly sit for 24 hours before storing it in your pantry. Enjoy your homemade plum jelly on toast, muffins, or as a delightful filling for desserts!
Making your own plum jelly is not just a cooking activity; it’s a rewarding way to savor the flavors of summer all year round. Enjoy the fruits of your labor!
source: temeculablogs.com